While most of my work has been on services that expose REST API’s or do Async communication via Kafka, there’s also quite commonly a need to let users upload or download binary files. In this blog post I’m going to explain how this can be implemented in Spring in a way that can scale to very large files. The primary goal is to stream directly from/to disk instead of keeping the data in memory.
Introduction
All the code can be found in this small file service implementation. You can run it locally and use it as a very simple Dropbox-like service.
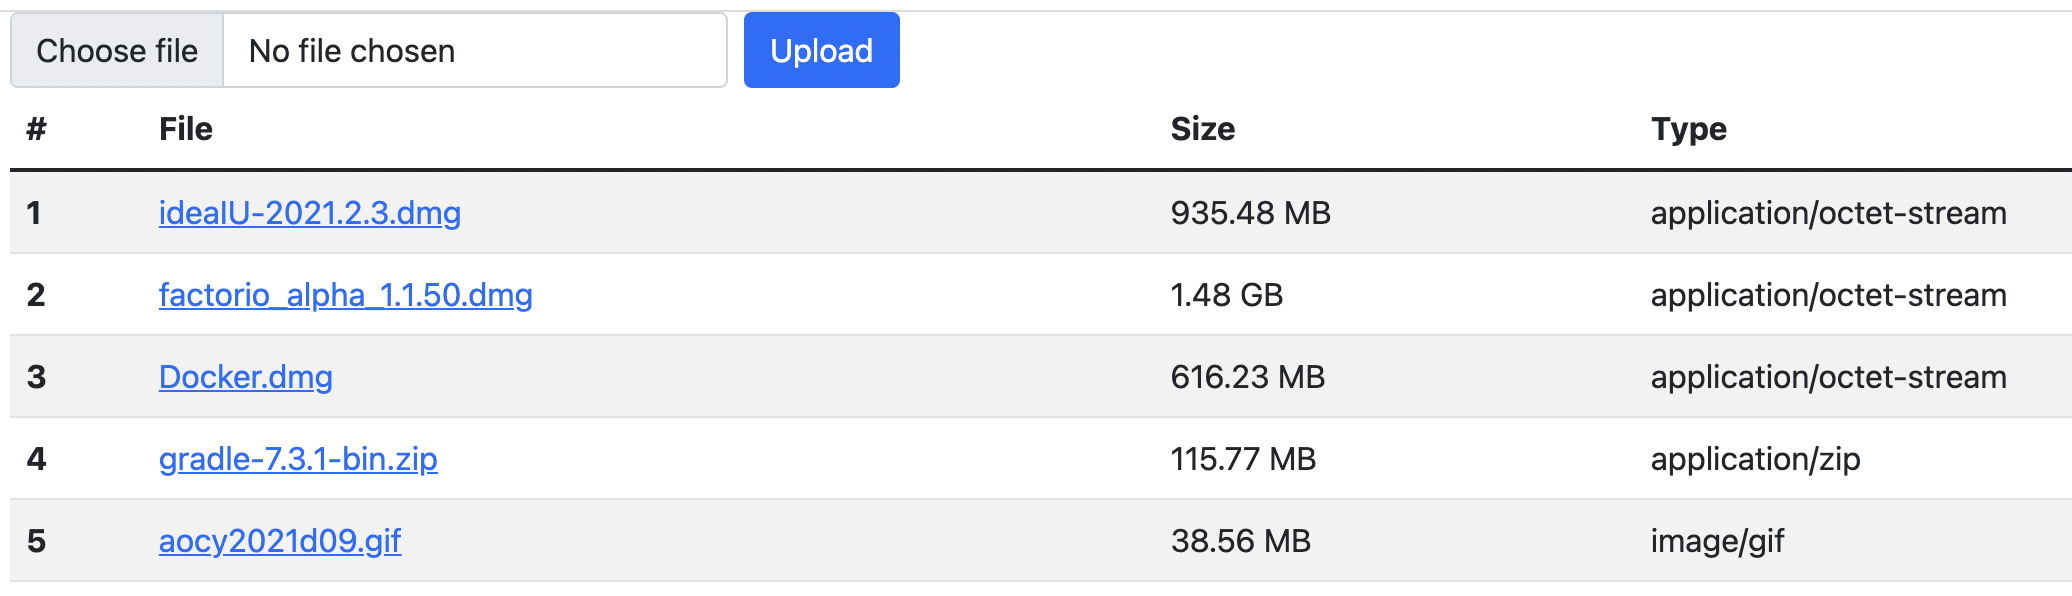
The service allows users to upload a file, which directly gets saved to a configurable file directory. The file metadata (original name, saved path, size, content type) gets saved to a database (set-up by Flyway in H2). The index page is a thymeleaf template that, aside from giving you an upload form, also presents a list of stored files letting you download them. After you uploaded some files, the index page should look like this:
Upload
File uploads from a browser form are generally done with multipart/form-data encoding. This means that a single post to a service can contain multiple files as well as form elements. A very simple file upload form would look like this:
<form method="POST" enctype="multipart/form-data" action="/file/upload">
    <input type="file" name="file" id="formFile">
    <input type="submit" value="Upload">
</form>
The important parts here are the enctype and the input type of file. The browser will present this, by default, as an input field where a file can be selected by the user. The action part is, like with regular forms, the HTTP endpoint the data will be posted to. That end-point will be served by the FileController class.
But first, we have to disable a bit of Spring. Spring by default has a MultipartResolver that can split up posted multipart forms. The problem with this is however that it will load the data all into memory. That’s fine if you’re uploading a few files of 1MB or so, but with the large files we want to support, that won’t fly. Fortunately as usual it’s easy to just disable in Spring by adding a bit to the application.yml:
spring:
  servlet:
    multipart:
      enabled: false
However, this means that we now need to handle the HttpRequests ourselves. Fortunately, Spring gives us a few tools that lets us pick apart these requests.
So let’s start with the FileController: the upload endpoint starts with a check if the provided HttpServletRequest actually is a multipart request. If not, we’re going to respond with a 400 bad request, since we will assume someone made a mistake:
if(!ServletFileUpload.isMultipartContent(request)) {
    throw new BadRequestException("Multipart request expected");
}
The Exceptions are handled in ErrorHandling using a Spring @ControllerAdvice error handler. If you want to know more about this, you can check out this blog post I wrote a few years ago.
To summarise; the @ControllerAdvice annotation allows us to map any error to a nice JSON error response. I prefer to use RFC7807 Problem responses, but you can define your own type if you want!
The next steps are:
service.upload(new ServletFileUpload().getItemIterator(request)); (1)

HttpHeaders headers = new HttpHeaders();
headers.add("Location", "/");

return ResponseEntity.status(HttpStatus.FOUND).headers(headers).build(); (2)-
We get an FileItemIterator and pass them into the FileService (we’ll dive into it later)
-
We then redirect to / to go back to the index showing the file that was just uploaded.
So let’s dive into the FileService.upload() method next:
while (iter.hasNext()) {               (1)
    FileItemStream item = iter.next();
    if(item.isFormField()) {           (2)
        continue;
    }
    upload(item);                      (3)
}-
Iterate over all the elements in the FileItemIterator
-
If the item is a form field and not a file, skip it
-
Pass the item into the upload(FileItemStream item) method
Now we get to go into the part where we actually save the file! Let’s take a look at the other upload method:
var fileName = item.getName();
var type = item.getContentType();               (1)
var ins = item.openStream();                    (2)
var destination = new File(saveDir, format("%s-%s", UUID.randomUUID(), fileName)); (3)
var outs = new FileOutputStream(destination);   (4)
IOUtils.copy(ins, outs);                        (5)
IOUtils.closeQuietly(ins);
IOUtils.closeQuietly(outs);                     (6)

var file = new FileRecord(null, fileName, destination, destination.length(), MediaType.parseMediaType(type));

repository.create(file); (7)-
Get the name and content type from the FileItemStream
-
Open an InputStream to read from
-
Create a destination File object based on the base directory (saveDir), random UUID (to prevent clashes) and the filename.
-
Open a stream to write to
-
Use IOUtils.copy to copy the data from the Input to the Output
-
Close both streams when we’re done (closeQuietly ignores thrown exceptions)
-
Save an entry into our database so we can list the files
The important bit here is how we use iterators to iterate over the entries and work directly with input and output streams. This makes sure that the data gets copied directly and not stored in memory.
That’s it! That’s how you can do streaming file uploads with Spring. Now onto the next bit; downloading the files we uploaded.
Download
Downloading is quite a bit simpler! All we need to do is set a few headers and then write to the OutputStream of the HttpServletResponse. So let’s start with the download method in the FileController:
@GetMapping("/{id}")        (1)
public void download(@PathVariable("id") String id, HttpServletResponse response) throws IOException  {
    var record = service.findById(id)
            .orElseThrow(() -> new FileNotFoundException("File with '" + id + "' not found")); (2)

    response.setContentType(record.contentType().toString());
    response.setHeader("Content-Length", Long.toString(record.size()));
    response.setHeader("Content-Disposition", "attachment; filename=\"" + record.name() +"\""); (3)

    var ins = new FileInputStream(record.path());       (4)

    IOUtils.copy(ins, response.getOutputStream());      (5)
    IOUtils.closeQuietly(ins);
    IOUtils.closeQuietly(response.getOutputStream());   (6)
}-
The endpoint is exposed on GET /file/{id}
-
Retrieve the file metadata from the database, or throw an exception when it’s not available.
-
Set content-type, -length and -disposition headers. Content-Disposition forces a file download with the correct filename. If you would want to display an image instead of downloading it, all you need to do is not add this header!
-
Open an InputStream to read the stored file
-
Copy the input to the HttpServletResponse’s OutputStream
-
Close both the input and output
And that’s it! Again because we copy directly from input to output streams, we don’t need memory to store the data. If you want to test this, start the service with -Xmx64M, setting the max memory to 64MB, and then upload a large 1GB file. You’ll see that it works just fine!
Next steps
First of all; security. The end-points are not secured at all currently. But since these are standard controller endpoints, you can use Spring Security to secure them. The service can be extended to also keep track of file ownership in the database.
If you would want to bring a service like this to the 'next level' so it’s production ready and scalable, you should consider using a CDN to host the files. This way download speeds won’t be bottle necked by your service. It’s also important to keep in mind that a file upload will take up a request worker thread, so by default you can only do 200 uploads in parallel.
If you upload the files to a CDN instead of the local file system, your 'download' end-point would not get the data from the CDN and pass it on. Instead, you would do a secure redirect to the CDN url passing in a single-use authorization token. With for example Amazon S3 you can do this, as well as let the upload be done directly to S3.
Also, if you’re curious how to do integration testing for these kinds of file uploads, please check out the FileServiceApplicationTests
While this service is tailored to upload/download any kind of file, by restricting it to only images of a certain content type and within certain sizes, you can create an image upload service similar to ImgUr too. Or video; have fun creating your own version of YouTube! The only real difference here is that for the 'download' you don’t want to force a download so you’d remove the Content-Disposition header.
Conclusion
I hope this blog posts shows that there are some gotchas when it comes to handling the uploading of large files in Spring, mainly that you have to disable the MultipartResolver, and do direct transfers via Input/OutputStreams. Other than that, Spring handles most of the work for you by letting use the standard Request Mapping annotations!